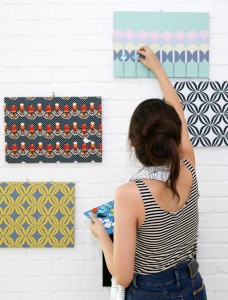
 Looking for some interesting and unusual ways to decorate your rental? There are several easy, inexpensive wall art projects you can finish in less than a day. Large or small, bright or subdued, these projects are just the right finishing touch for any room of the home.
Tree string art
Get a piece of plywood in any size you’d like for your art project, but this is well-suited to larger sizes. Paint the plywood black. Pencil in the outline of a tree without leaves. Hammer in 1-inch nails at random intervals inside your tree. Tie a piece of white nylon cord to the lowermost, leftmost nail in the tree. Tightly wrap the cord around the nails, working your way upward. Tie out each branch of the tree, ending with the topmost branch. Tie a knot to secure the nylon cord. Add a few strands of colored cord to the tips of the branches. Frame the tree art or add molding around the edges.
Stencil art
Choose a stencil in a pattern you like, such as ikat, zigzag, stripes, chevron, or animal print. Select a bright color and stencil the pattern onto a canvas in any size to suit your wall. Stretch the canvas over boards at the top and bottom and hang. This wall art looks especially good over a wine rack in the dining room or over a table in the living room or den.
Vintage key art
Whitewash a canvas with acrylic paint using vertical strokes. Before the paint dries, add in a few thin gray lines to create a striated effect. Then allow the paint to fully dry and use a length of twine to tie a vintage key to the front of the canvas. It takes about three full wraps with the twine to secure the key. Spread the wraps of twine so that it fans outward from the key toward the edges. This piece works well with any canvas size from small to large.
Button art
Whitewash a canvas and add a striated effect as you would to prepare the vintage key art project. Instead of attaching a key with three wraps of twine, attach multiple buttons in different sizes and colors, each with a single piece of twine. Make sure the twine attaching the buttons is placed on the canvas vertically. Place the buttons at random distances across the front of the board to create a varied appearance.
Map art
This project is an excellent way to commemorate a special trip. Cut a map to the size of a piece of printer paper. Use your computer to create a display of words and phrases that had special meaning during the trip. Print your design onto the map. Use spray adhesive to attach the map to a canvas. If you’d like an aged effect, use coffee or tea to stain the printed map. Cover the mounted map with two coats of decoupage medium, allowing the first coat to dry thoroughly before adding the second. Depending on how many trips you’d like to commemorate this way, you can create a single piece of art or a whole wall display of these maps.
It’s best to use specially designed hangers for homemade wall art so there is very little damage to the wall and the artwork is held firmly in place.

